
Trumpet Intonation and Tuning Strategies for Students
It is the battle scene of the movie, the audience rapt with anticipation as the orchestra hurtles toward the final moments of the score. The timpani pounds, the violinists fingers are flying, the pulsing rhythms accelerate, the shimmer of cymbals fills the auditorium … ugh, was that the trumpet section?
It takes patience and a subtle ear to play with excellent intonation. Any band or orchestra director knows that kids are not built to be patient or subtle – or if they are, they didn’t find their way into your trumpet section! With limited classroom time, teaching the subtle intonation refinements may seem impossible – especially trying to pull together a concert program every six weeks.
However, developing good intonation in your students may not be as difficult as it seems, and an early investment in a few key techniques will yield very satisfying results.
Then and Now
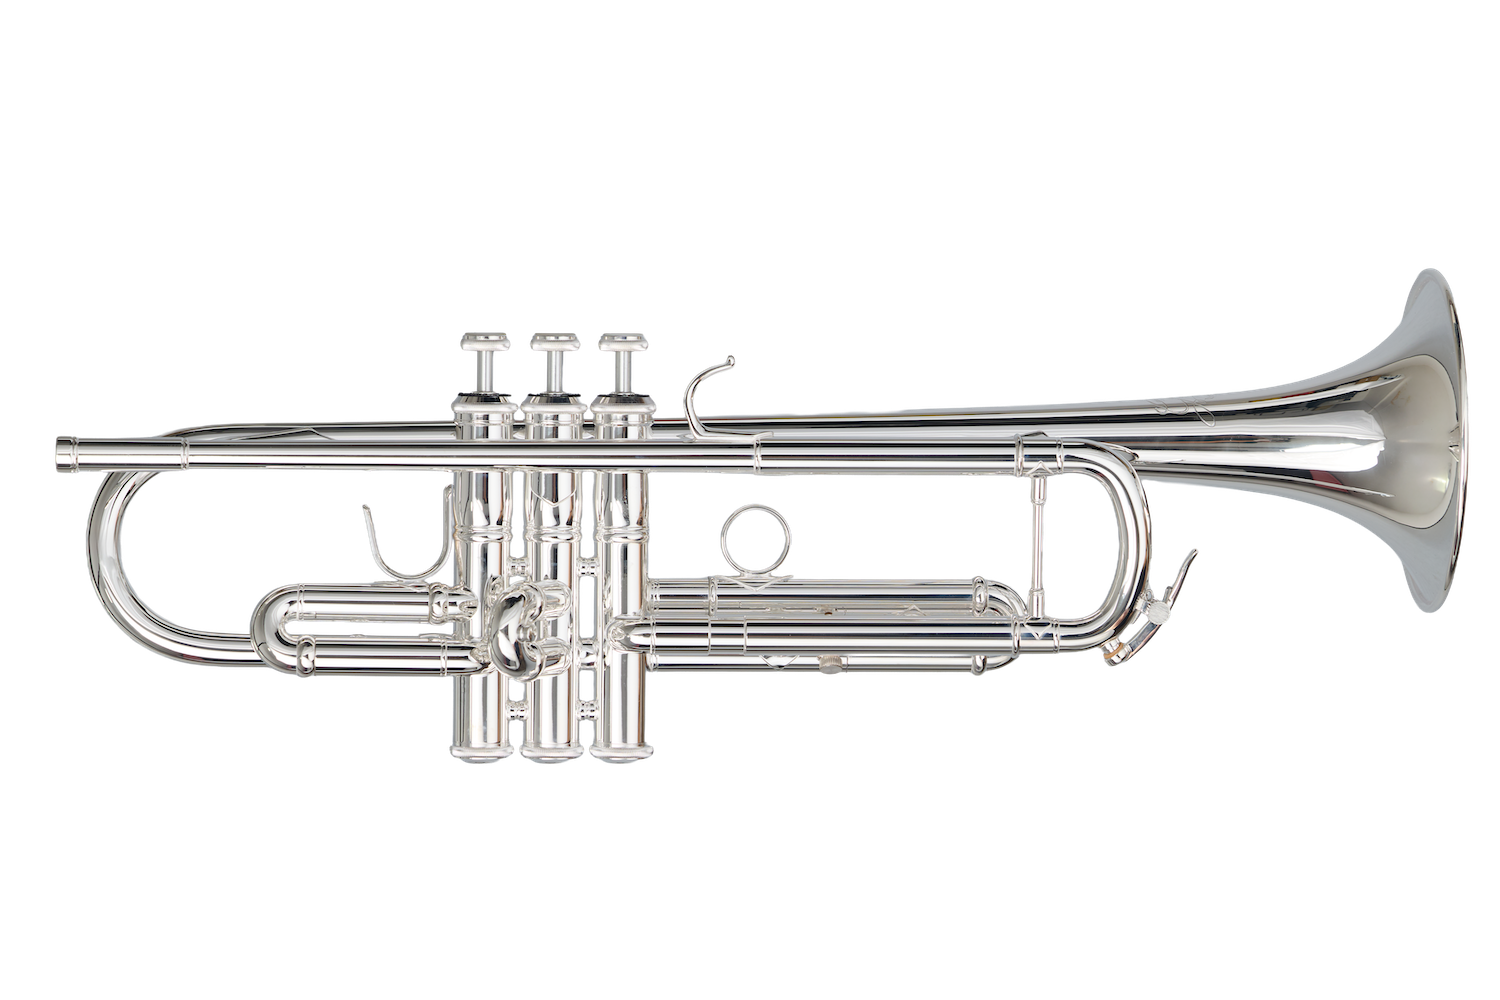
The first tuning rescue for your trumpet section happened about ten or fifteen years ago … when manufacturers first began outfitting beginner trumpet models with both a first and third valve slide ring (the first valve slide may alternately have a U-hook).
Whew! Whether from the pleading of vexed band parents or as a generous gift to migraine-weary middle school directors, this quantum leap in trumpet quality means even your beginning students can actually play a fully outfitted trumpet.
Needless to say, I would suggest retiring any trumpet in your inventory that lacks fully functioning first and third valve slides. From the very first week your students are playing fingered notes, have them use the appropriate slide(s) along with their fingerings. This saves you teaching the concept separately later, and also allows the kids to begin coordinating these motions (and making the needed corrections in trumpet balance and hand position) from the start.
Smooth as Silk
Good left-hand technique will help the kids be consistent and skillful as they learn to use their valve slides properly. The left hand should remain on the valve casing when extending the third and first valve slides – whether separately or together.
When extending the third slide, only the ring finger should extend and retract; for the first valve slide, only the thumb should extend. On the rare occasion, young students may use their whole arm (pushing and pulling); make sure they learn the correct technique of using only the finger or thumb.
It is important that the first and third slides move with an easy in-and-out motion. If a slide moves roughly or sluggishly, the student will develop improper technique, or even become frustrated and stop using the slide altogether. Apply a dab of grease along with a few drops of valve oil to a clean slide. If the slide is still being stubborn, send the trumpet to a repair person; this small hassle is well worth the student being able to play in tune.
If you have your trumpeters using a marching band lyre (which is inserted in place of the third valve slide ring), have them keep their third valve slide slightly extended to avoid low D and C# being extremely sharp. Following marching season, remind your trumpeters to replace their third valve slide ring and resume using the third valve slide in their regular playing. With a little more investigation, it may be possible to find lyres that attached to the leadpipe allowing the third valve slide to move.
Working with the Boss
As the metronome is to rhythmic integrity, so is your chromatic tuner to perfect intonation. Ask students to spend time daily with this generous truth-teller; you can also have them practice with a tuner during sectionals, to help them establish the habit.
Hold a note, check the tuner. Next note. Check with the tuner. This methodical practice will go over easier with more advanced students, but get the younger ones while you can. One way of doing this is to create a game during after-school sectionals. A friendly competition to see who can make the needle stay centered builds excitement, reinforces the value of tuning practice, and encourage kids to relate to tuning in a positive way.
During their individual long-tones warm-up, students can work with a tuner to train their ear. As an external aid, the tuner reinforces students’ internal pitch by giving them feedback and helping them to discern fine distinctions in pitch. Also have the students work with the tuner at different dynamic levels to acquaint themselves with the necessary pitch adjustments when playing piano (they will go sharp) or forte (they will go flat).
Teach the students to use the tuner during private practice only – never while playing with the band! When their eyes are focused on the tuner, they will miss the opportunity to develop the most important skill of all – listening to those around them.
Huff and Puff
Excellent breath support is essential for consistent tuning; improper breath support will result in a sagging pitch and lackluster tone. Teachers should emphasize correct breathing technique from the beginning to avoid many problems with tuning – as well as range and sound quality.
A great way for students to learn how their breath support affects their pitch is to have them mouthpiece buzz. When the student has good breath support, they will be able to buzz a clear, even note. If breath support is missing, their buzz will drop to a lower pitch or disappear completely.
Tuning to a chromatic tuner while playing trumpet is hard enough; doing so while buzzing is even harder because the trumpet isn’t guiding them to each note and stabilizing the pitch. Students should spend ten minutes a day mouthpiece buzzing with a tuner (or matching pitches on the piano). This will benefit their ear and help them establish muscle memory for the correct embouchure and tongue height for each note.
Who’s listening?
One of the most important qualities that a young or older student can acquire is active, sensitive listening. We want our students to ask themselves moment by moment, “Am I too loud? Am I too short? Am I in tune with the ensemble?”
When students start listening to what is musically going on around them, doors start to open. Besides correcting the errors, they will discover how their own part makes musical sense and contributes to the symphonic story they are a part of.
One of the fundamental building blocks to this enlightenment can start with listening to themselves simply play one note at a time in tune. One … note … at … a … time.
What’s in there?
What all the students are working with a tuner and using their slides correctly and the intonation is still awry? There is a surprising answer at the heart of many musical crime scenes – dirty instruments. With all the pizza and Coca Cola debris, it is no wonder that your trumpeters’ tuning is a mess.
In any plumbing system, blockages and debris mean that whatever is going through is not going to have an easy time of it. In this case, we are talking about the air. When debris clogs the pipes, the pipes narrow and the instrument will play sharp.
Especially for orchestra or band classes that meet directly after lunch, everything the kids just ate goes right into their instrument. Require your afternoon students to carry a travel toothbrush with them and brush their teeth before practice. This will cut down on the number of times per year they have to clean their trumpet.
Schedule a periodic “instrument cleaning check” in each of your ensembles to make sure the students are properly caring for their instruments. For typical students this age, a monthly cleaning is about right.
Bump, Bump
When you watch a professional player play the trumpet, their use of valve slides is like that of a professional trombone player. When expertly played, the trombone slide action is rendered seemingly invisible by the smooth, continuous sound.
However, for beginning trumpet students, use of the first and third slide may create such a bump in the sound that you wonder if the note is being accented. This pounding of the slides may also cause the mouthpiece to rock on the embouchure, creating a fast “wa-wa” sound. Needless to say, this is not what you are looking for in your brass solos.
To remedy the bumpy ride, make sure all of your trumpets have their slides in perfect, smooth working order. The slide should be thrown simultaneously as the valve reaches its down-most point and retracted as soon as it is no longer needed for that particular note (or line).
I am not a Trombone
Quite often students will push and pull their slides more often than they need too. Take, for example, a musical passage in which they need to extend the third slide for low D (fingered 1-3) several times. Keeping this slide extended is fine as long as the passage doesn’t contain notes fingered 2-3 (for example, G# or Eb) – the slide would make these notes flat.
This reduction in motion will reduce movement and distraction in lyrical passages, and is an especially helpful trick for younger students.
Give a Little, Take a Little
As students develop and their embouchure starts to take a firm hold, they can start adjusting note that do not require the use of a valve slide by making minute adjustments to their embouchure. Tightening the embouchure (“lipping up”) raises the pitch, while relaxing the embouchure has the opposite effect.
Notes like fourth line D and fourth-space Eb (notated pitch) are flat on the trumpet, so cannot be corrected by extending the slide (which can only lower the pitch). For these notes, the student will need to lip up slightly.
The chart below gives general remedies for the various valve combinations. A more detailed chart addressing individual note corrections is given on the facing page.
0 (Open) Tighten or loosen the embouchure as needed
1 Generally okay; lip up or down as needed
1-2 Sharp; extend first slide
2-3 Flat; lip up
1-3 sharp; extend third slide
1-2-3 very sharp; extend the first and third slide
Special note: When the first and third valve slides are used concurrently (e.g. for low F# or C#), the third slide will make the primary adjustment; use the first slide to further flatten the pitch as needed.
Universal Lip Bends
Lip bend practice is not just for advanced students or professionals. Even younger students can benefit from lip bends once their embouchure is fully established.
By bending the pitch downwards, slowly and gradually, as much as a half step to a whole step, the student will learn to hear the pitch center of each note and develop muscle memory for producing it. The point of this technique is not so much the bending of the pitch, but rather returning to the center of the note afterwards.
Have the student listen for when they think the note is centered and in tune. Now have them check their perception with a tuner. The students will be able to find the center more quickly and easily over time.
Back to the Box Office
Establishing good intonation in a trumpet section will take time and effort … on the part of both you and your students. However, there are plenty of silver linings to all of this hard work.
First, you may discover that your students have been more aware of poor intonation than you’ve realized. Just as we shut our ears to someone else’s out-of-tune playing, so do kids unconsciously close their ears to their own out-of-tune playing. It’s pure self-defense – their own playing makes their ears hurt!
When they begin to realize that they’re now in tune, students will be more willing to listen to themselves in other ways as well. They will enjoy practicing more (and do it more often) – because they are experiencing their own success. Their parents can enjoy their evenings at home … without retreating to the back patio.
So at that mid-autumn concert, as the timpani is thundering, the violins are passionately shredding and the cymbal is building to a ear-splitting shimmer, the trumpet section entrance in that epic battle will be gripping for all the right reasons.
Quick Guide Reference Notes
| Note | Tendency | Solution | False fingering (special use only) |
|---|---|---|---|
| Low F# | Very Sharp | Extend first & third slide (major) | |
| Low G | Slightly Sharp | Extend third slide (slight) | |
| Low C# | Very Sharp | Extend first & third slide (major) | |
| Low D | Sharp | Extend third slide (moderate) | |
| First Line E | Sharp | Extend first valve slide (slight) | |
| Second Space A | Sharp | Extend first valve slide (slight) | |
| Fourth Line D | Flat | Lip Up | 1-3, extend third slide |
| Fourth Space Eb | Flat | Lip Up | 2-3, extend third slide |
| Fourth Space E | Flat | Lip Up | 1-2, extend first slide |
Note: While false fingerings are given above for reference, these are used only in rare situations, and are not considered correct technique for playing these notes
Beginner/Intermediate Trumpet Guide
While all professional trumpets will have working first and third valve rings, research carefully to ensure that your students buy models that are fully equipped.
| Brand | 1st and 3rd Valve Slide Ring (Hook) | Plating | Beginner/Intermediate/Model |
|---|---|---|---|
| Yamaha | yes | Silver | Beginner/ YTR-2335SC |
| Yamaha | yes | Silver | Intermediate/ YTR-4335GS |
| Bach | yes | Silver | Intermediate/ TR200 |
| Bach | yes | Lacquer | Beginner/ TR500 |
| Jupiter | yes | Silver | Intermediate/ 1000S |
| Getzen | no | Lacquer | Beginner/ 390 Series |
| Getzen | yes | Silver | Intermediate/ 590S-S |